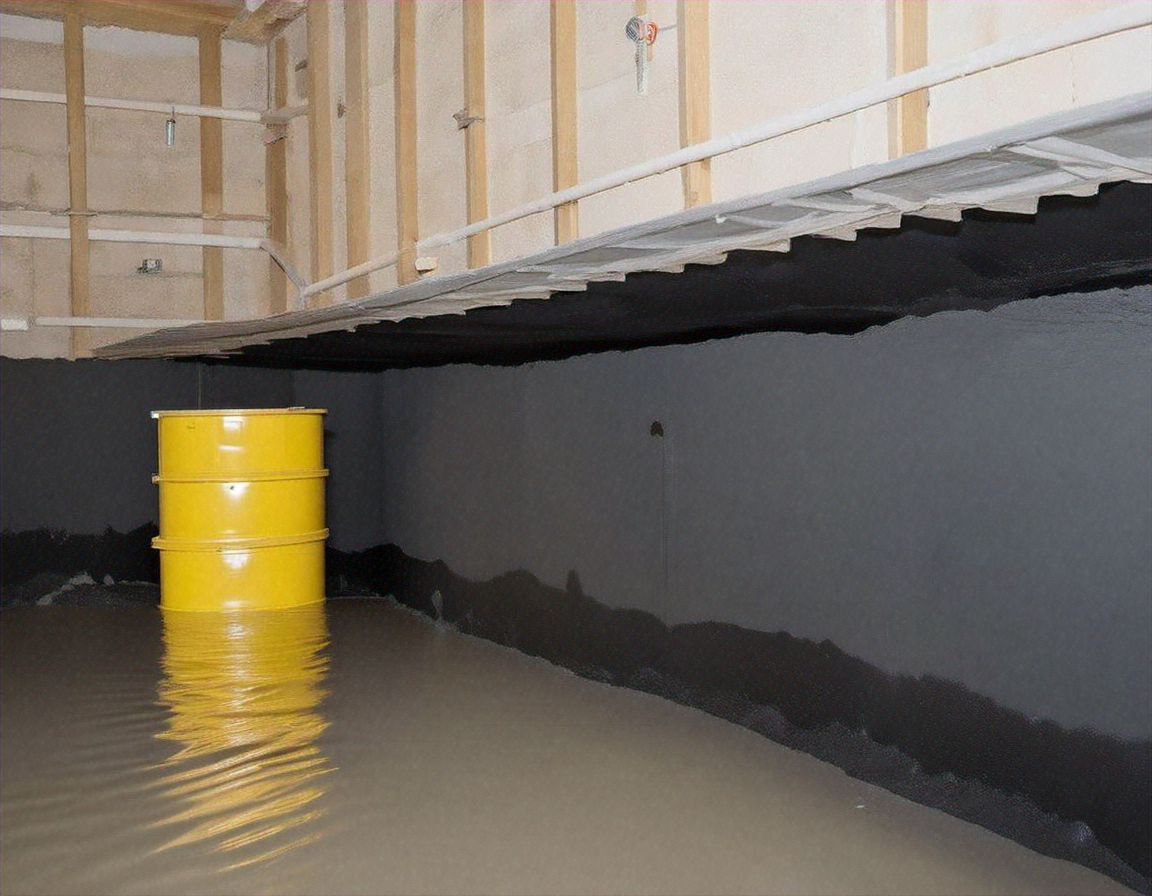
Damp basement? how to seal it without excavation
Many homeowners face damp basements and assume excavation is the only fix. In many cases, you can seal and dry the space from the inside using proven materials, drainage upgrades, and humidity control. This guide outlines practical steps that work without digging.

A wet or musty basement does not always require exterior excavation. In many homes, interior solutions can control moisture, block water entry, and manage vapor without disturbing landscaping or foundations. Success depends on understanding how water is getting in, selecting materials that suit masonry or concrete, and combining sealing with drainage and air management so the system works as a whole. With careful prep and realistic expectations, you can meaningfully reduce dampness and protect finishes and stored items.
Waterproof basement without digging: what works
Water can reach basement walls and floors through several pathways: liquid leaks from cracks or joints, capillary wicking through porous concrete or block, vapor diffusion from damp soil, and air leakage that carries moisture. Start by reducing the load on the structure. Keep gutters clear, extend downspouts well away from the foundation, and make sure soil slopes away. These outdoor adjustments are noninvasive and often deliver quick gains, yet they pair best with interior measures.
Inside, the main approach is negative side waterproofing, which means stopping water on the room side of the wall. Combine crack repair with waterproof coatings and, if needed, interior drainage that relieves hydrostatic pressure. Where bulk leaks persist at the floor wall joint, an interior perimeter drain tied to a sump pump can capture water before it spreads. None of these steps require digging outside, although cutting the slab for an interior drain is common in tougher cases.
Quick checks that guide your plan:
- Identify whether dampness rises after rain or is present year round, which hints at surface runoff versus groundwater.
- Look for efflorescence, the white powder that signals evaporating mineral laden water.
- Note any standing water at the cove joint where walls meet the slab.
- Measure relative humidity to see if condensation is a contributor.
Basement sealing from the inside: step by step
Preparation is critical. Remove loose paint and efflorescence with a scraper and stiff brush. Clean masonry with a mild, compatible cleaner and rinse thoroughly. Allow walls to dry as much as conditions permit, using fans and heat to speed the process. Protect sensitive items and cover drains. Wear eye and hand protection when handling cement based products.
Repair cracks and joints before coating. Pack active leaks with fast setting hydraulic cement pressed firmly into the crack or around pipe penetrations. For dormant hairline cracks in poured concrete, a low pressure polyurethane or epoxy injection can bond and seal through the wall thickness. Repoint failing mortar joints in block walls with non shrink repair mortar. Seal the floor wall cove with hydraulic cement if minor seepage occurs there.
Apply interior waterproof coatings as the next layer. Cementitious crystalline slurries can penetrate concrete and reduce permeability, while elastomeric or polymer modified coatings form a continuous barrier on the surface. Follow coverage rates and apply multiple coats in alternating directions to reduce pinholes. Pay special attention to corners and transitions. Where finishing walls later, use compatible rigid foam insulation and a smart vapor retarder to reduce condensation risk against cold masonry.
Dry out basement from the inside: methods that last
Drying and air control turn a sealed basement into a reliably usable space. Run a dehumidifier sized for the room volume and climate, ideally with a hose to a floor drain or condensate pump so it can operate continuously. Target 40 to 50 percent relative humidity. Use a hygrometer to verify results and adjust settings seasonally. Increase air movement with a small fan to prevent stagnant pockets behind shelving and in corners.
Remove and replace materials that hold moisture. Carpets, fiberboard, and paper faced drywall tend to trap dampness and can harbor odors or microbial growth. In their place, consider hard surfaces such as sealed concrete, tile with waterproof underlayment, or composite trim. If odors persist, inspect for hidden leaks at plumbing lines and around utility penetrations and reseal as needed.
An interior perimeter drain is a common upgrade that still avoids exterior excavation. A channel is cut inside the slab along the foundation walls, a perforated drain is placed in washed stone, and water is directed to a sump pit with a pump. The pump discharge should send water well away from the house over grade or to an approved storm line, and include a check valve to prevent backflow. A battery backup pump and high water alarm provide resilience during outages and heavy storms.
Ongoing maintenance preserves the gains from sealing and drainage. Test the sump pump twice a year, clean the pit, and verify that the discharge line is open and not frozen in winter. Keep downspout extensions in place, confirm grading slopes away from the foundation, and inspect coatings for abrasion or damage after any interior work. Record humidity readings through the seasons to spot creeping moisture issues before finishes are damaged.
When to consider professional help: if you see significant horizontal cracking in block walls, rapid water entry under pressure, or signs of settlement, consult a qualified structural or waterproofing specialist. Interior methods can control many issues, but structural movement and severe groundwater pressure may require engineered solutions. Where local codes apply, check permit requirements for interior drains and sump installations so your upgrades meet safety standards.
By combining load reduction outside, targeted sealing on the interior, and steady humidity control, it is practical to waterproof a basement without digging. A measured approach that diagnoses the source, chooses compatible materials, and integrates drainage will deliver longer lasting results than any one product used alone. With routine maintenance and monitoring, the space can remain dry and functional across seasons.


